Magical Mermaid
(OnStage November 2017)
I always get excited when Stampin Up convention rolls around. Each one brings new products and new ideas. Of course, I like to offer my own new ideas. This year, I have created a card that offers you a chance to enjoy using several techniques: heat embossing, water coloring, using our new Blends alcohol markers and dry embossing. Yet this card is quick and easy to make. Let's get started. 
• Whisper White card stock. ( I like thick, since we will be doing so many different techniques.)
• Embossing Buddy
• Versa Mark
• Copper embossing powder
• Heat tool
• 2 bottles of refill (I used Soft Sky and Pear Pizzazz)
• Aqua Painter (2)
• Blends (Calypso Coral- light and dark, Daffodil Delight- light and dark, Ivory, Bronze )
• Ruffled embossing folder
• Big Shot
• Early Expresso Ink pad
• Momento Ink pad
• Bermuda Bay card stock
• Paper Snips.
• Mini Dimensional
• Fast Fuse Adhesive
I like to start with my thick Whisper White a little large. 5 1/2 x 4 1/4. This allows me to trim off any rough or undesirable edges. Always drop the embossing buddy and rub it across the card to reduce any static.

Embossing Buddy®
103083 $6.00
Prevent extra powder or glitter from sticking to your project. Just rub across paper before application.


Stampin’ Emboss Powder
$5.00 each
Turn stamped images into glossy raised designs. Just use VersaMark Pad (p. 200), Stampin’ Emboss Powder, and Heat Tool (p. 201). 1/2 oz.
Copper • 141636
$5.00 each
Turn stamped images into glossy raised designs. Just use VersaMark Pad (p. 200), Stampin’ Emboss Powder, and Heat Tool (p. 201). 1/2 oz.
Copper • 141636

After stamping with Versa Mark you can see the shine when placed under the light just right.


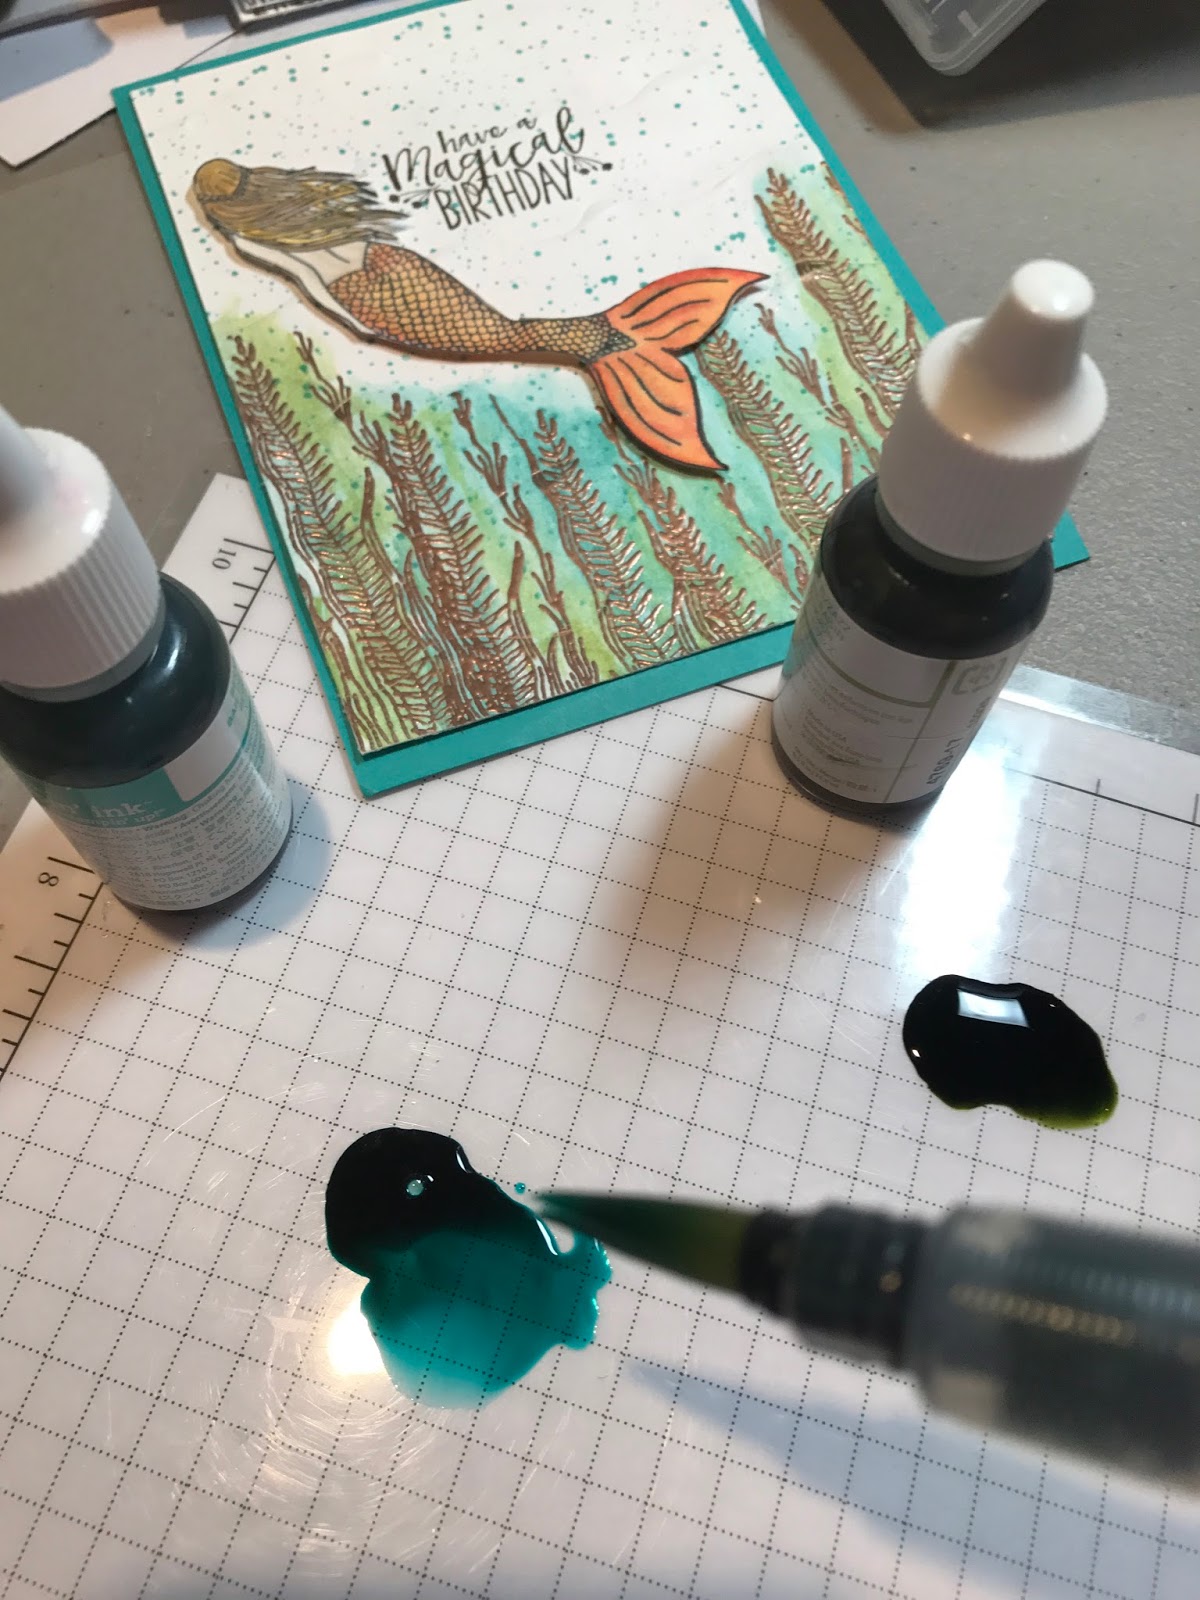
Let's set up for water coloring. Fill 2 Aqua Painter with water, one for each color. Next add a few drops of water.


Stamp your sentiment using Early Expresso ink pad. I often use Early Expresso in place of black. To me it is just a softer shade than always using black.
Now we are ready to dry emboss with the Ruffled embossing folder. As your card may still be damp, this will make for an even nicer embossing lines. When placing my card in the embossing folder, I did not go to the top of the folder. For me a line closer to the top gave you the allusion the water goes above the top of the card.
We are ready to use our new Blend alcohol markers. Start by stamping the mermaid using Momento black ink pad. Remember alcohol markers do not require a heavy hand. In fact a lighter touch will give you better coverage without wearing the tip. Our markers have a brush end and a fine tip end. Look at the marker, noticing the single line on each end. One is thick, the brush end and one is thin, indicating the fine tip end. It does not matter if you start with your darker color or lighter color marker. Out of habit, I normally start with the lighter color. Then I go over the areas I want to be darker with the darker colors. I finish by blending over the edges of the darker color with my lighter color a second time. Now you will not have any strong edges, just a soft transition of color. Just a note, I seldom use the Lifter marker. It is great if you color outside the lines and want to remove the marks. For normal blending I like to blend with a lighter color
Using your paper Snips, let's cut out our mermaid.
All you have left is to assemble your card.

Thank you for stopping by. Be sure to follow us, so you can see other great cards. Shop for your Stampin Up supplies
Product List


